Expert Gardening Advice
Access a plethora of expert gardening tips and tricks tailored for Australian climates, ensuring your plants thrive all year round.
Creative Home Decor Ideas
Uncover innovative home decor solutions blending plants and floral arrangements to create a warm, inviting atmosphere in your living spaces.


Latest News

How to Choose an Eastern Suburbs Tattoo Shop
A tattoo is permanent, but the decision does not need to feel overwhelming. If they…

What Should You Look for in a Tattoo Studio Sydney?
What does a clean and safe setup look like? A reputable studio looks and feels…
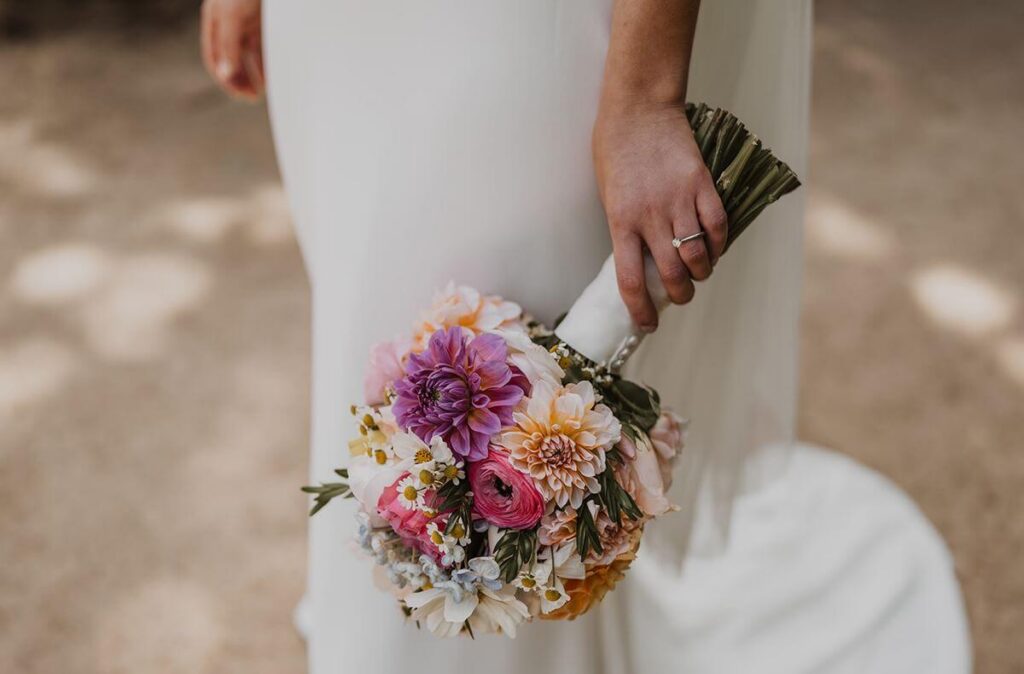
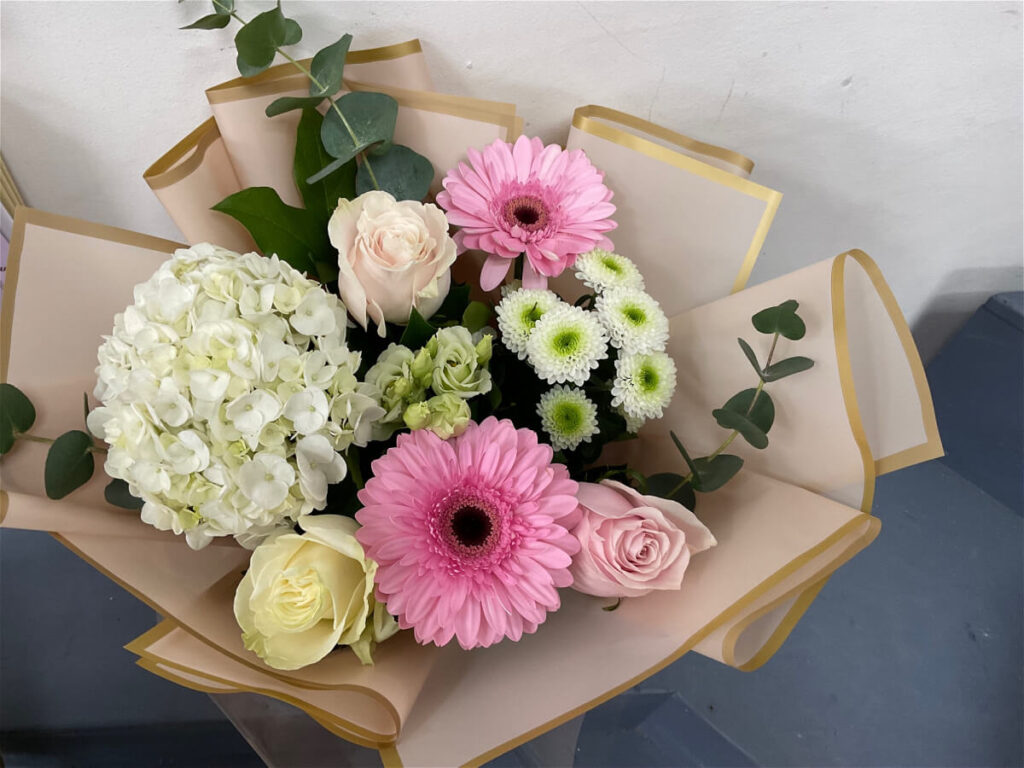
Choosing Seasonal Flowers Kirribilli Residents Love
Kirribilli residents often want flowers that look fresh, feel thoughtful, and suit the moment. The…
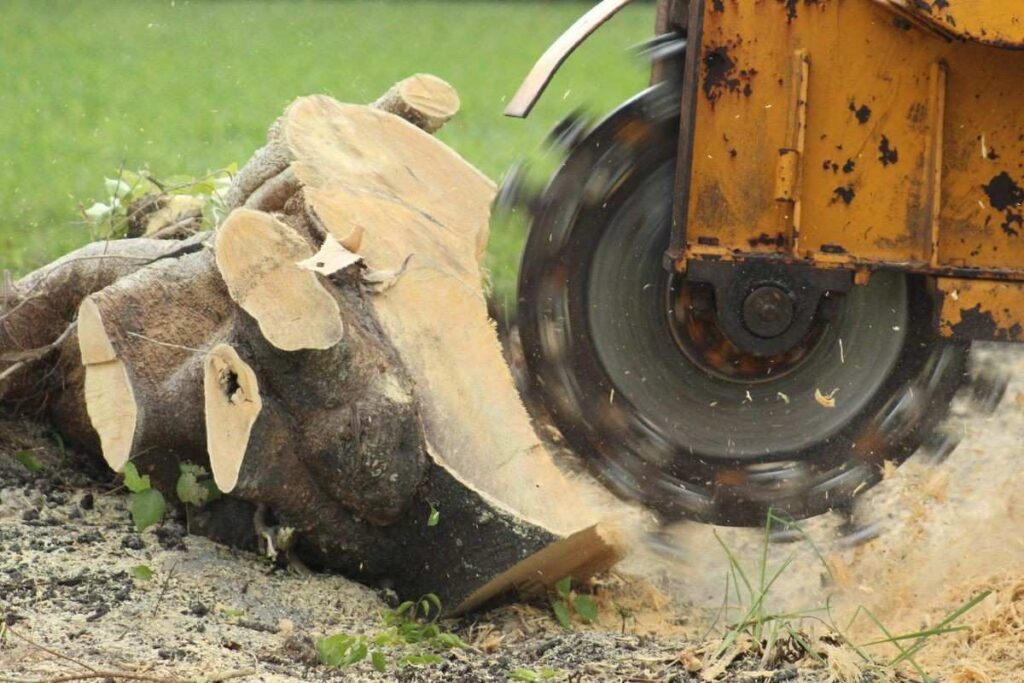
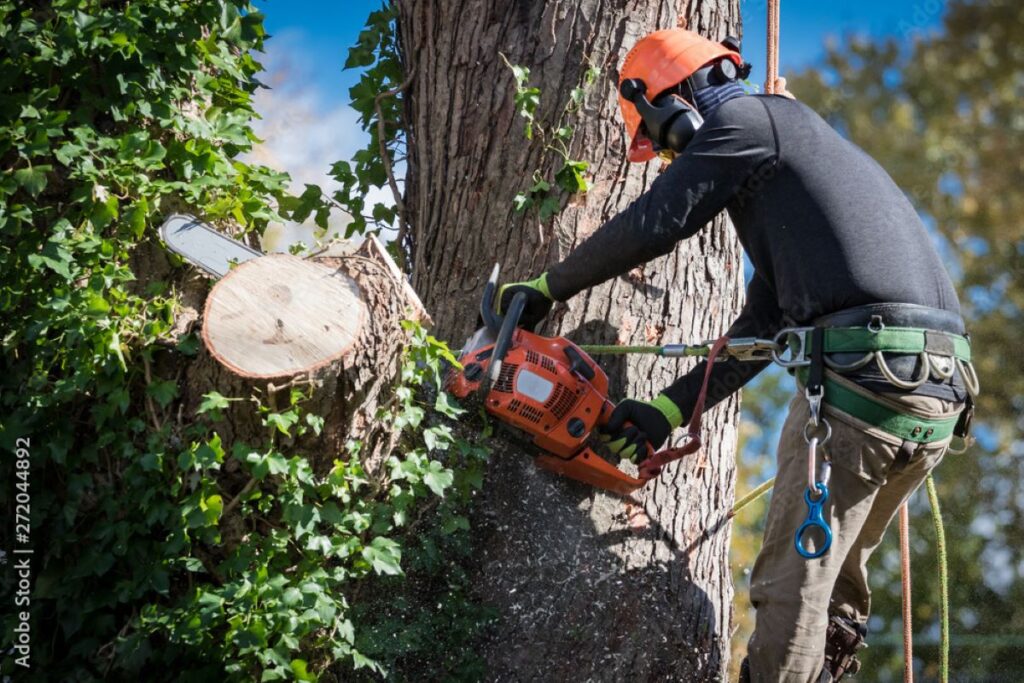
Does Stump Grinding Sydney Fully Remove Tree Roots?
For homeowners and builders, the real question is not whether every root disappears, but whether…
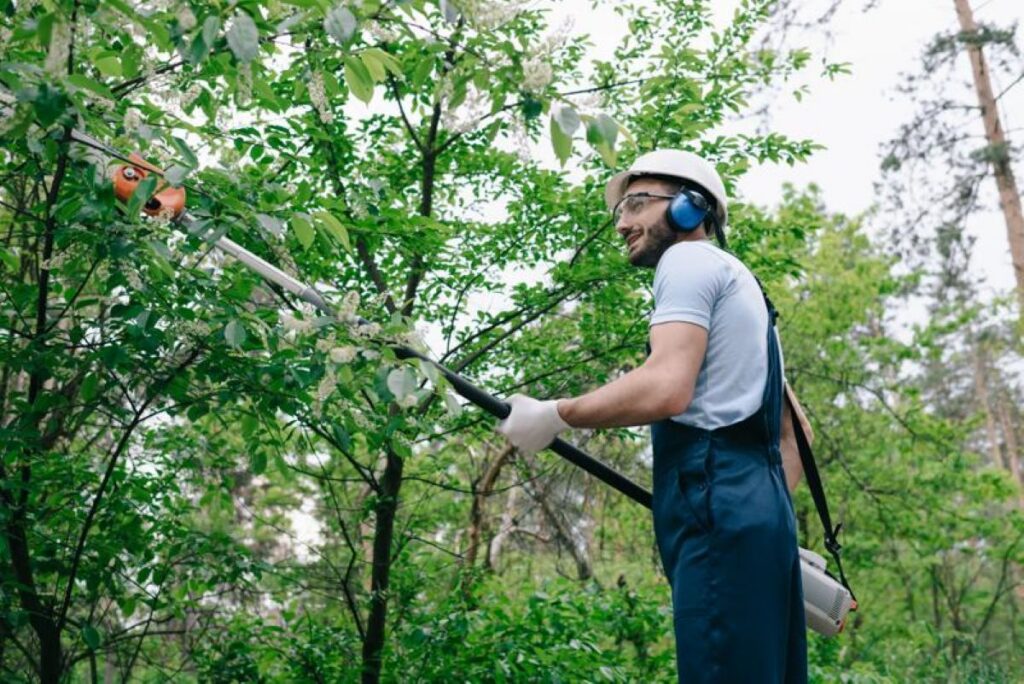
How Much Does Tree Pruning Hornsby Cost for Different Tree Types?
What typically changes the price of tree pruning in Hornsby? Prices change because arborists are…
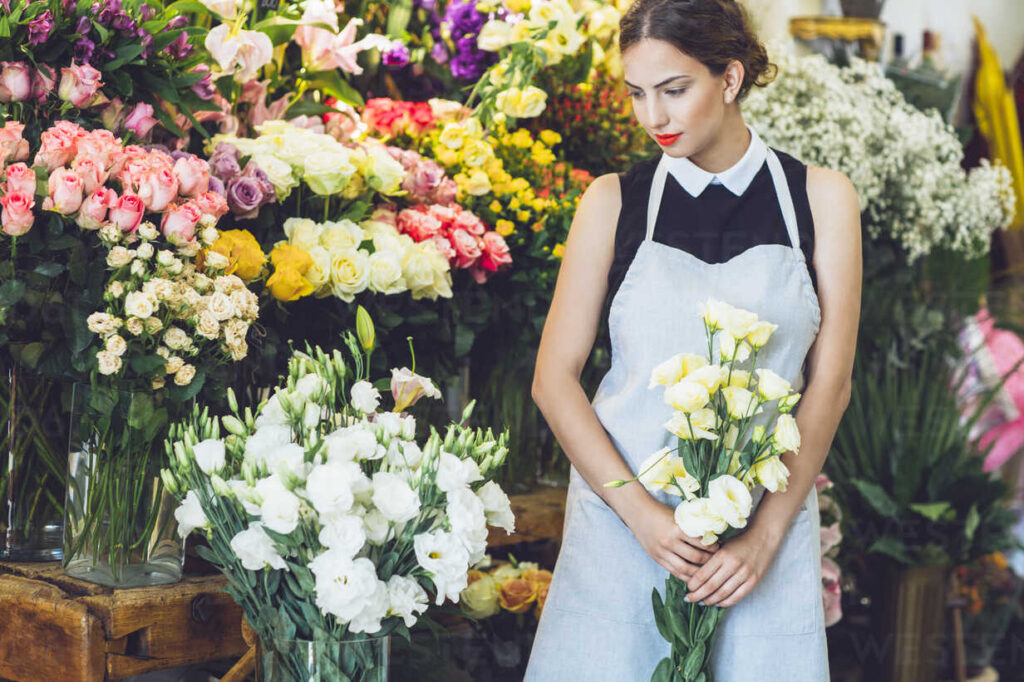
How a St Leonards Florist Helps Create Memorable Floral Gifts
Giving flowers is simple. Making them feel unforgettable is not. A St Leonards florist helps…
Best Florist Mosman: Why Bespoke Floral Artistry Wins in 2026
In the sophisticated enclave of Sydney’s Lower North Shore, the standard for luxury is constantly…

The Definitive Guide to Choosing the Right Backing for Your Custom Patches
What Are Custom Patches and Why Is Their Backing Important? Custom patches have become essential…
How to Turn Your Art into a High-Quality Acrylic Pin in 5 Simple Steps
What Are Acrylic Pins and Why Should Artists Choose Them? Acrylic pins are lightweight, durable…
Sydney Tree Removal for Pools and Gardens: What Are the Rules?
In the vibrant city of Sydney, the lush greenery that adorns our gardens and parks…
Our Process
How We Help You Create Beautiful Spaces
What People Say
Testimonials from Our Community