Expert Gardening Advice
Access a plethora of expert gardening tips and tricks tailored for Australian climates, ensuring your plants thrive all year round.
Creative Home Decor Ideas
Uncover innovative home decor solutions blending plants and floral arrangements to create a warm, inviting atmosphere in your living spaces.


Latest News

Firewood for Sale Near Me: Where to Find the Best Deals
As the chill of winter sets in, many households turn to firewood for warmth and…
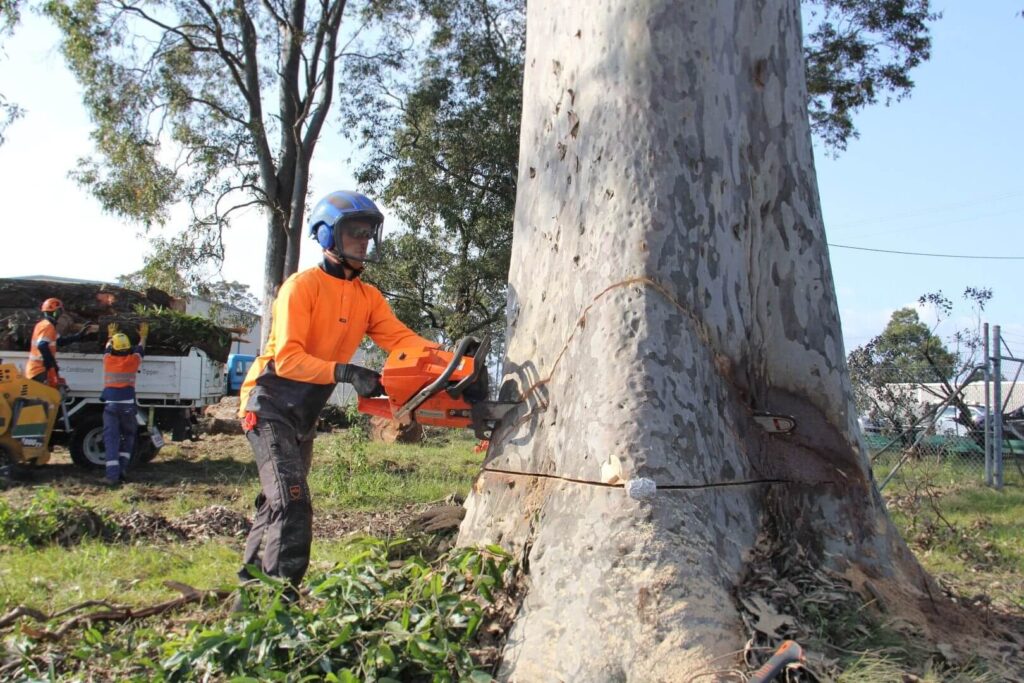
How to Choose the Right Tree Removal Company in the Central Coast
Choosing the right tree removal company is crucial for maintaining the safety and aesthetics of…

How to Choose the Best Mother’s Day Gift Boxes for Your Mum
Choosing the perfect Mother’s Day gift can often feel like a daunting task. With so…

Hampers for Mum: Unique and Personalised Mother’s Day Gifts
Mother’s Day is a special occasion dedicated to celebrating the incredible women in our lives….

Brisbane Gift Hampers: Where to Find the Best Hampers
Gift hampers have become a popular choice for sharing thoughtful presents across various occasions, and…

Adelaide Hamper Delivery: Luxury Gift Boxes for Every Occasion
When it comes to making a statement with gift-giving, luxury hampers have become the go-to…

Everything You Need to Know About Golden Wax 464 Instructions
Understanding the basics of Golden Wax 464 Golden Wax 464 is a popular choice amongst…
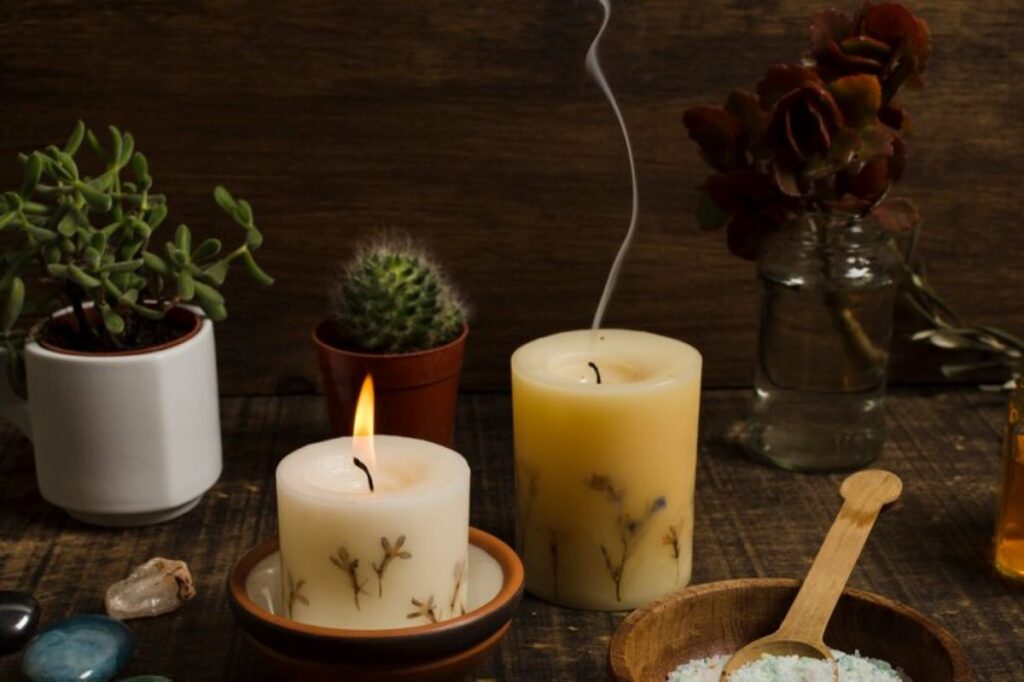
How to Use a Candle Wick Trimmer for Better Burning Candles
Understanding the importance of a candle wick trimmer Many of us light candles for their…

Artarmon Flower Shop: Elegant Designs for Your Loved Ones
Understanding the allure of Artarmon Flower Shop Artarmon Flower Shop is more than just a…

Flower Delivery Castlecrag: Reliable Service for Every Event
Understanding the importance of flower delivery in Castlecrag In the picturesque suburb of Castlecrag, the…
Our Process
How We Help You Create Beautiful Spaces
What People Say
Testimonials from Our Community